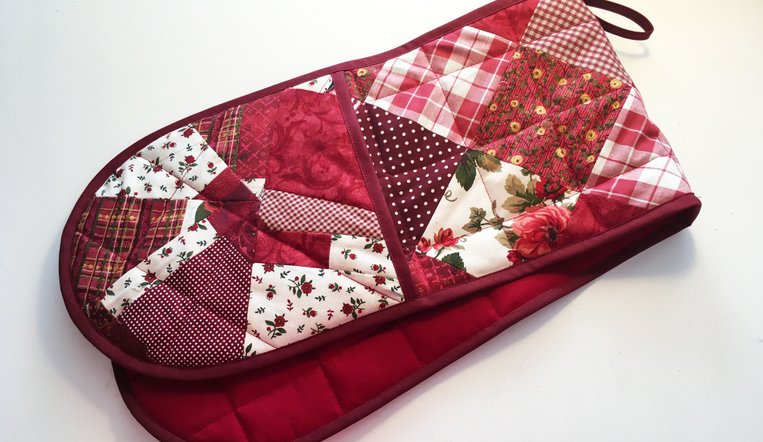
MADE MOSTLY FROM SCRAP FABRIC
Please Subscribe to our YouTube channel for more content!
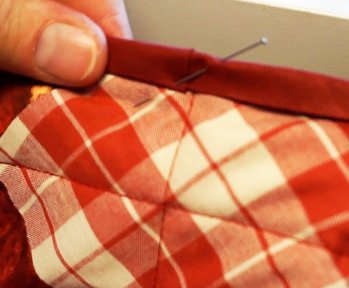
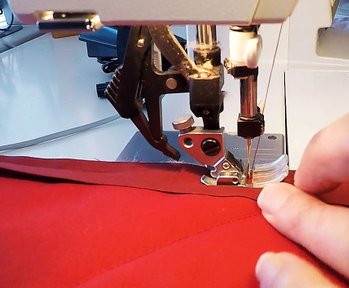
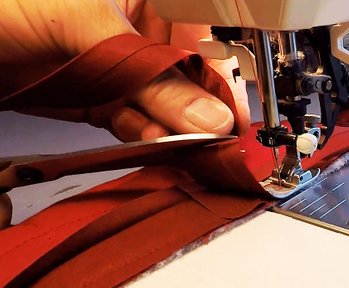
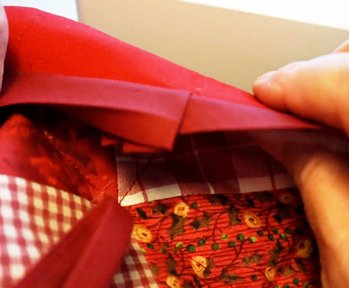
When you get to the end, cur the bias binding 2 cm longer than the end. Then sew all the way to the end.
To make a neat ending, unfold both ends of the bias binding, then fold them together, twice to cover the edge.
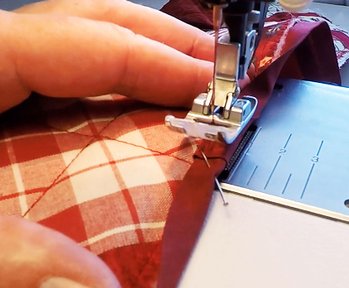
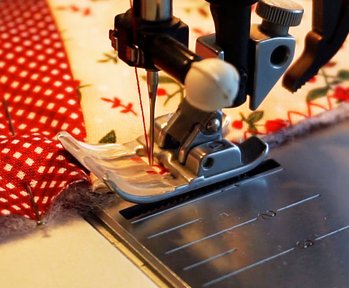
Pin the end and sew the top stitch all the way around the oven-glove, easing it into place as you go.
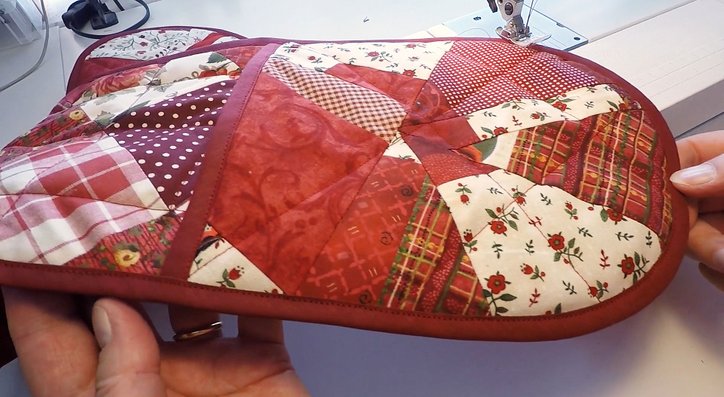
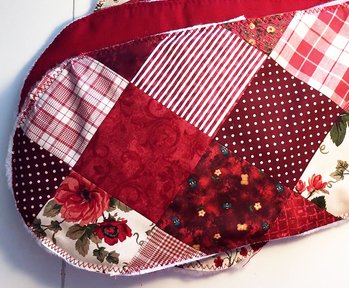
And that’s the finished oven-glove - ready to use.
This has been on my to-do list for far too long. I made my old oven-glove when we built our new kitchen in 2008, so it has actually lasted quite well, but it is well worn by now. Time to make a new one. Click here to watch the video about making the oven glove.
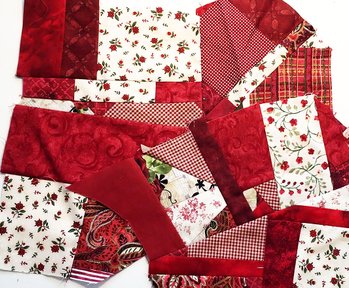
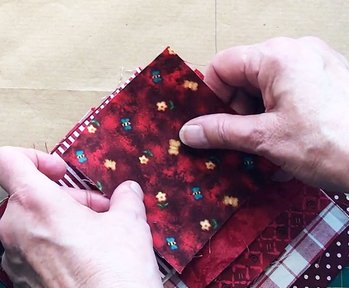
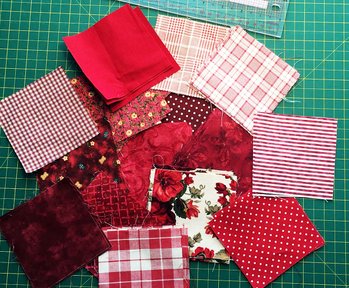
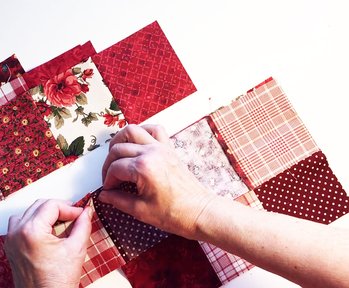
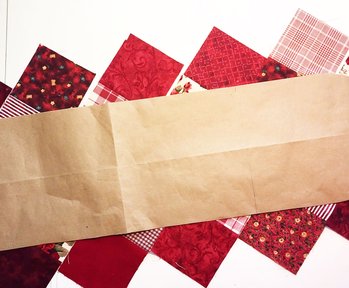
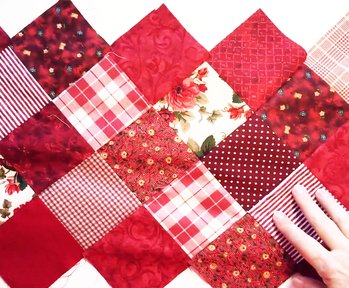
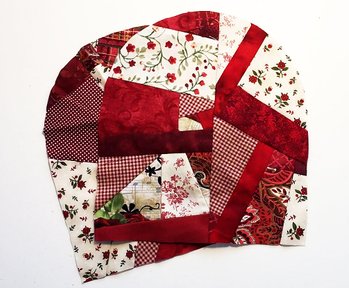
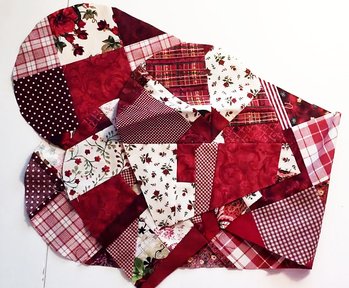
Let’s see what we have of fabrics! I made these out of scraps ... just for fun. It would be nice to use it for something, so let us see what I have to go with it.
Pattern:
87 cm (or 34") long
20 cm (or 7.8") wide
23 cm (or 9") for the pockets
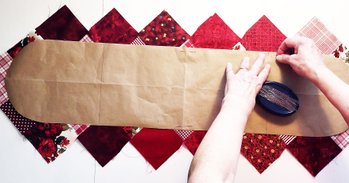
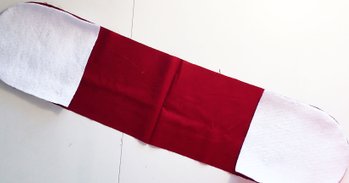
For the pattern I cut the long piece first, 87 cm long and 20 cm wide and square off the ends. I measure 23 cm from each end and draw a line. This is for the hand pockets. I fold it lengthwise and use a compass to make the round ends, but you can also use a suitable plate or bowl.
Cut it out and use it as a template to make the two pocket patterns.
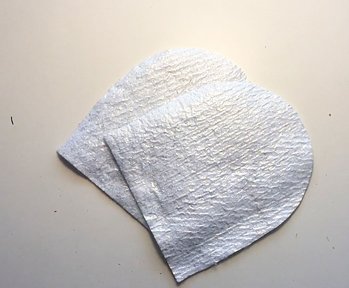
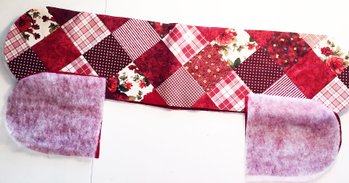
For where the hands are going to be in contact with heat, I use insulating wadding. This one is heat resistant and made of a combination of mylar and hollow fibre. We need two pocket-size pieces of this.
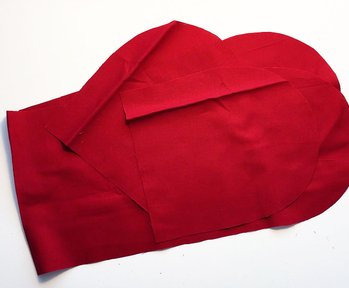
In the lining fabric, cut one of the long piece and two pocket pieces. It is easiest to cut the long piece on a fold with half of the pattern. Then cut the two pocket pieces.
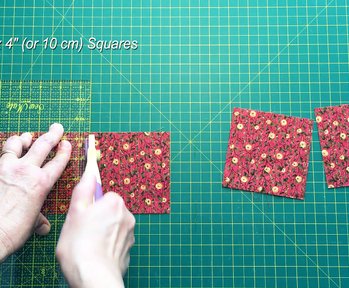
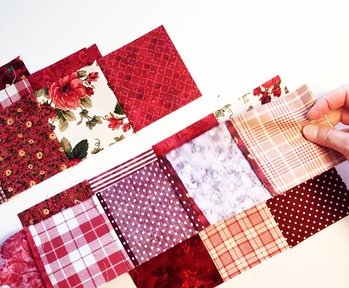
I use a rota cutter for this, but you can also use scissors ... only, it takes a bit longer. I cut them 4 inches or 10 cm square.
I have a system of laying the squares staggered in one row at a time so that I can see the order I placed them in.
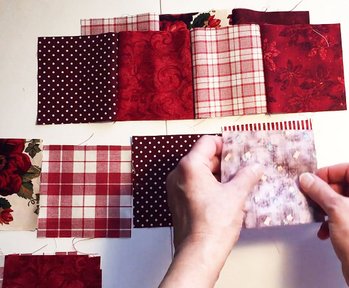
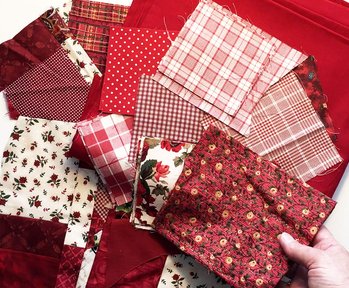
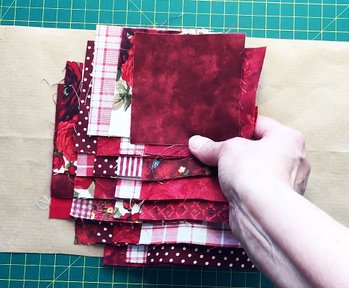
And for the rest of the patchwork, I have some 4 inch squares left over from another project and I can cut some more out of these remnants.

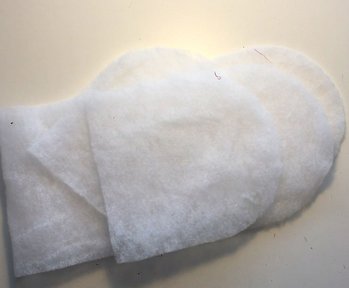
For the rest of the wadding, Whatever you have left over is fine. We need one long piece and two pocket pieces.
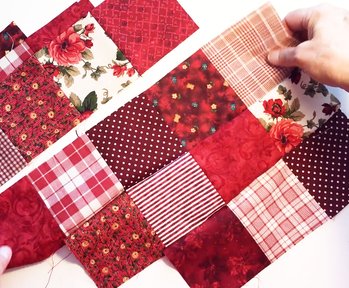
And then we need one long piece of patchwork. I will cut some more 4 inch squares to make 34 in all. I always make more so I can mix and match the different colours and patterns.
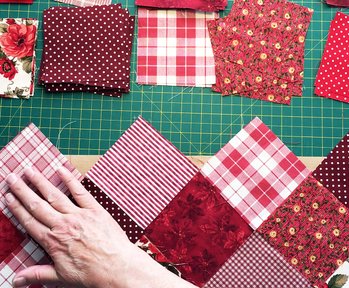
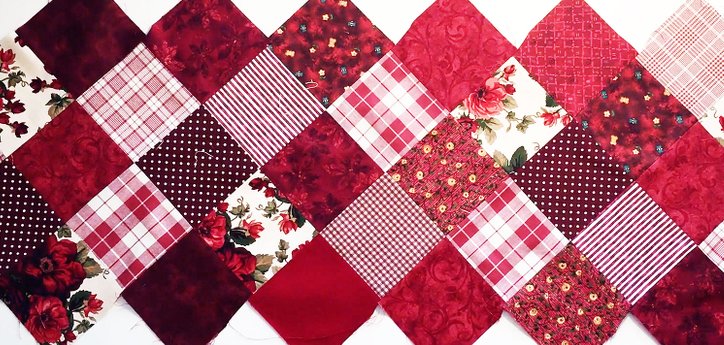
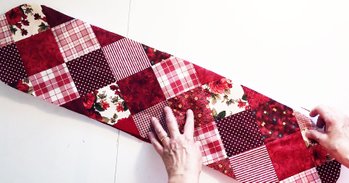
Then it is time for a puzzle ... layout the long pattern and puzzle the squares on top until the pattern are covered and you are happy with how it looks. You need 4 rows of 5 squares, 2 rows of 4 squares and 2 rows of 3 squares.
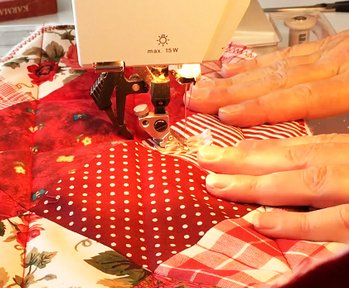
Then it is time to sew them together ... one row at a time.
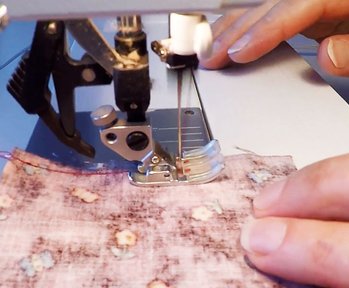
I spread out the squares for the next row - beside each-other and sew them together, two and two, and then together again until the whole row is sewn.
I always finger-press the seams apart before ironing. It is easier to do that way. Some people like to press the seams to one side, but I find that it can become quite bulky that way, so I press them apart.

I like to lay out the rows to check how it looks. Now is the time to make any adjustments.

Then I stagger them again in the order I want them.
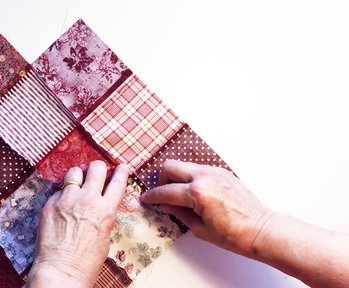
Now it is time to sew the rows together.
Be sure to line up the seams so the pattern turns out straight. Pin each seam in place before sewing them together. Remember to stagger the next piece with one square to the side of each row.
Be sure to line up the seams so the pattern turns out straight. Pin each seam in place before sewing them together. Remember to stagger the next piece with one square to the side of each row.
Give it a good press on both sides. Then continue with the other rows until they are all done.
Lay the long pattern on top to see how it fits.
It is easiest to lay them out and visualise the full piece as you go along. I lay the sewn piece down and tip the next one over to align the squares.
Pin it and sew the next row.
Repeat until you have the whole patchwork piece sewn together.
Pin it and sew the next row.
Repeat until you have the whole patchwork piece sewn together.

Finger-press the seams and press it first from the back and then on the front.
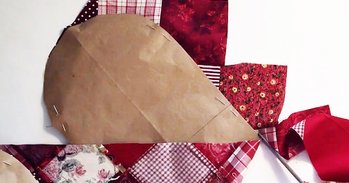
Now you can cut out the large pattern piece.
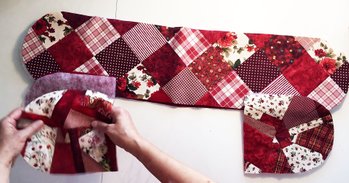
I use this scrap patchwork for the pockets, but you can also use squares as I do for the rest. Cut the two pockets.
To layer the oven-glove, first layout the large lining piece. Then the insulating wadding with the mylar side (shiny side) down.
And lastly, the patchwork piece we just made.
then the wadding
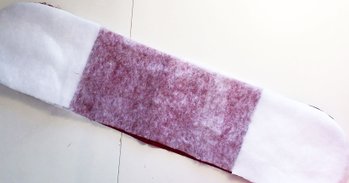
On top of that goes the large ordinary wadding
For the pockets, first the lining pieces,
and finally the two patchwork pocket pieces.
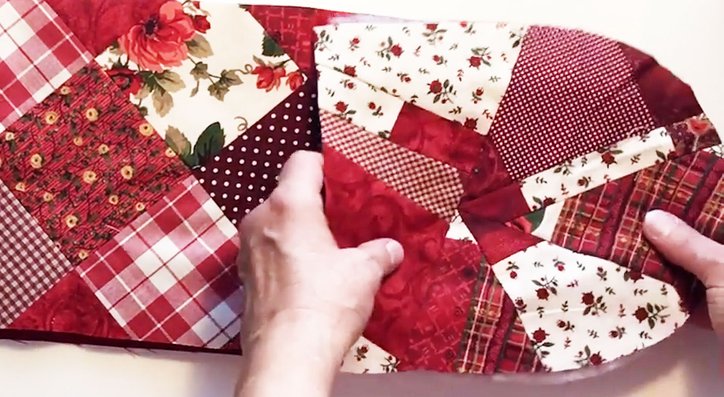
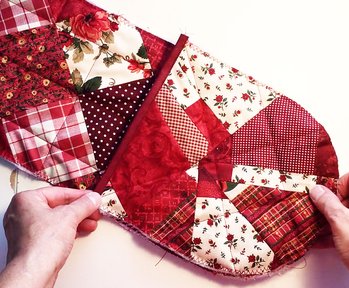
You can now roughly see how the oven-glove comes together.
Pin all the layers all the way around, making sure all the layers reach the edge.
Find a large zig-zag seam on your sewing machine and zig-zag all 3 pieces all the way around, ensuring that all the layers get caught in the seam.
Check the wadding and pull it out to the edge if it has crept in. Do this with all 3 pieces.
Trim off any wadding that sticks out.
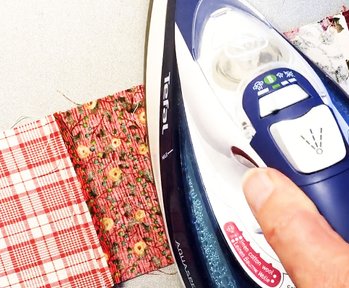
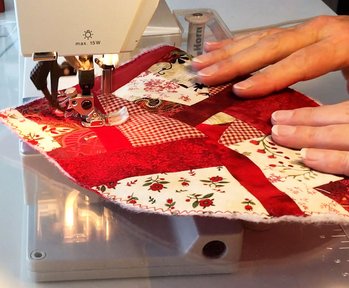
Now it is time for quilting. I just use a simple criss-cross pattern, but you can let your fantasy run wild and do what ever you like. Swirls, zig-zags, pepples ... you choose.
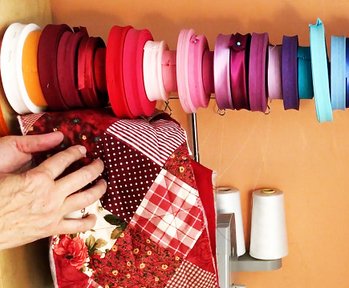
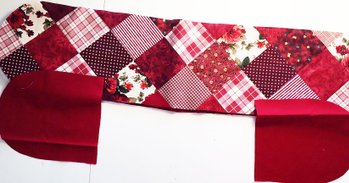
Let’s see ... edging ... I think I’ve got just the right colour.
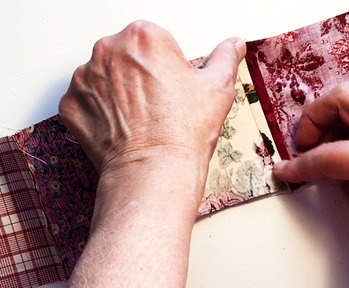
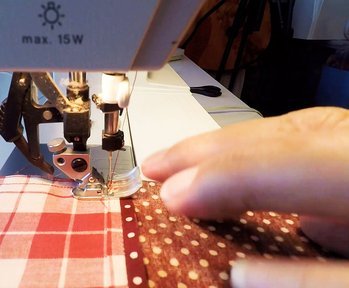
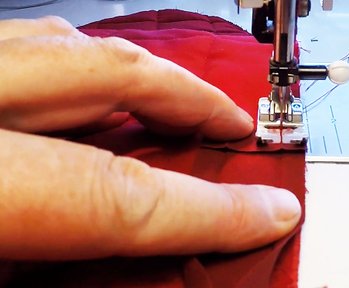
Then turn it right side out and fold the bias binding over the edge. Sew a top-stitch about one millimetre from the edge.
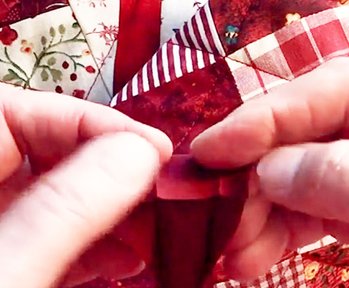
Fold a little piece of bias binding and sew it together to make a strap. Fold the strap and pin it onto the centre edge of the oven-glove ... each end side by side.
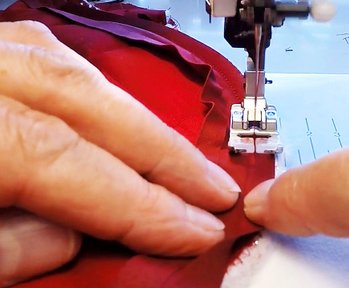
Start sewing it on the lining side of the oven-glove at the centre of the long part, across from the strap.
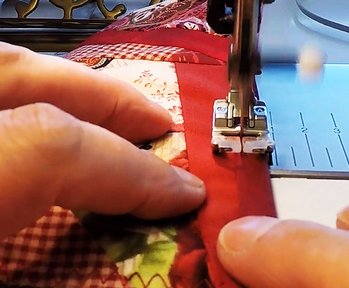
Again, sew straight in the folding line.
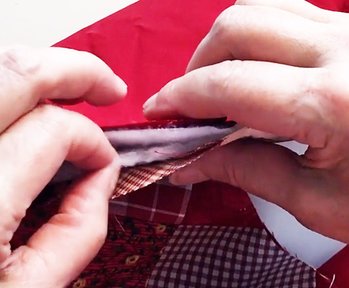
First edge the pockets. Sew the bias binding on from the lining side first. Open the fold, line it up with the edge and sew straight in the fold-line.
When both pockets are edged, pin them to the large piece and zig-zag them on, making sure the edges line up.
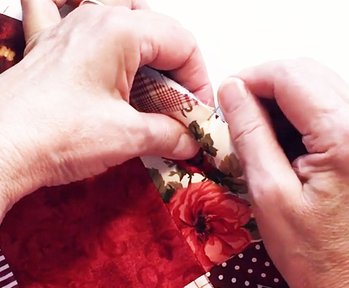
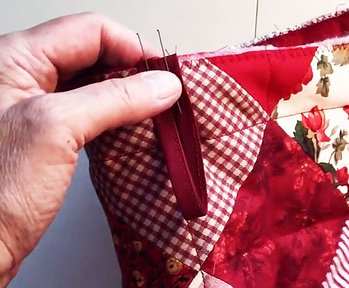
Take the end of the bias binding, open it up and fold over the end 2 cm.
Ease the bias binding around the rounded ends.
LEAVE A COMMENT, QUESTION OR SUGGESTION:
RELATED PROJECTS:
SEWING PROJECTS, ALPHABETICAL: